Glossary
The Glossary functionality offers a way to find documents by browsing an index page.
Glossary management
Once logged in, the user can find the two menu items, Glossary Definition and Glossary Usage in CATALOGS of the Knowage main menu, as shown below.
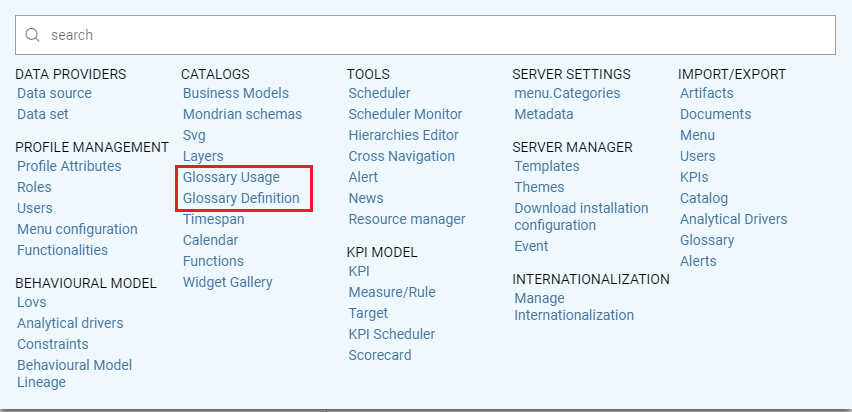
Glossary menu items.
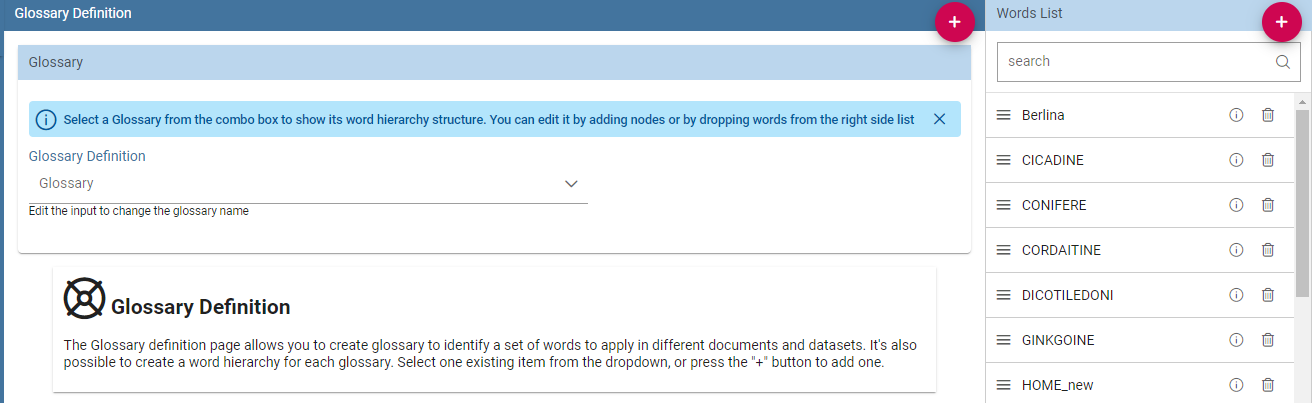
To create a new glossary, just click on the Glossary Definition menu item. As shown in the figure below, the page contains two areas:
Words List: contains the list of all the defined words to be used as labels to attach to analytical objects, as datasets or documents;
Glossary: intended as a hierarchical structure made up of Words.
Glossary definition window.
As shown above, next to each word, there are two icons:
i: prompts the details of the selected word: name of the Word, Status, Category, Description, Formula, Links to other words and Attributes
delete: deletes the selected word
In the “Word” area are listed, if any, the words created in a previous moment. To explore the detail of each of them, the user just has to right click on it. A panel containing three features will be shown, as figure below highlights .
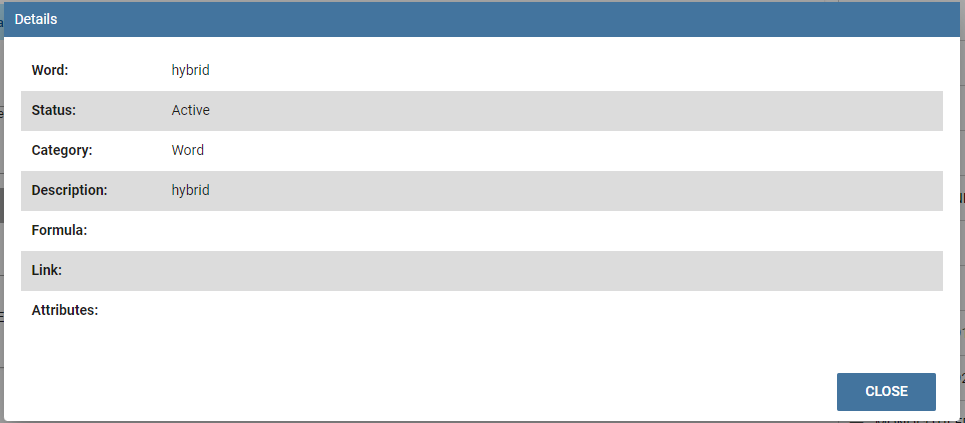
Exploring the details of an existing word.
To add a new word, click on the Plus icon available next to the Word List text item an fill in at leats the mandatory information,*Word*, Category and Description. Use the Save button to save it a. Once saved, you can search for it or a different word just using the search filter.
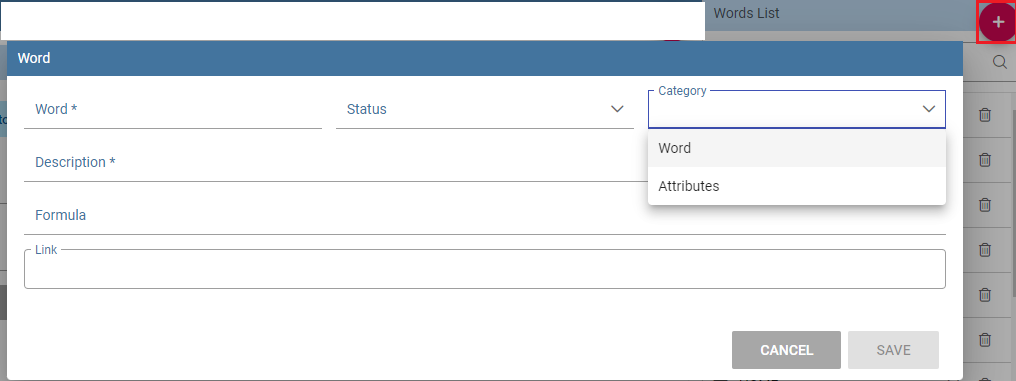
Add a new word.
The Glossary panel contains all the glossaries formerly created. To explore an existing glossary just open the menu of the Glossary Definition item and select one of the test options. The figure below shows an example. A hierarchical structure of the glossary appears, where each node has its own words .
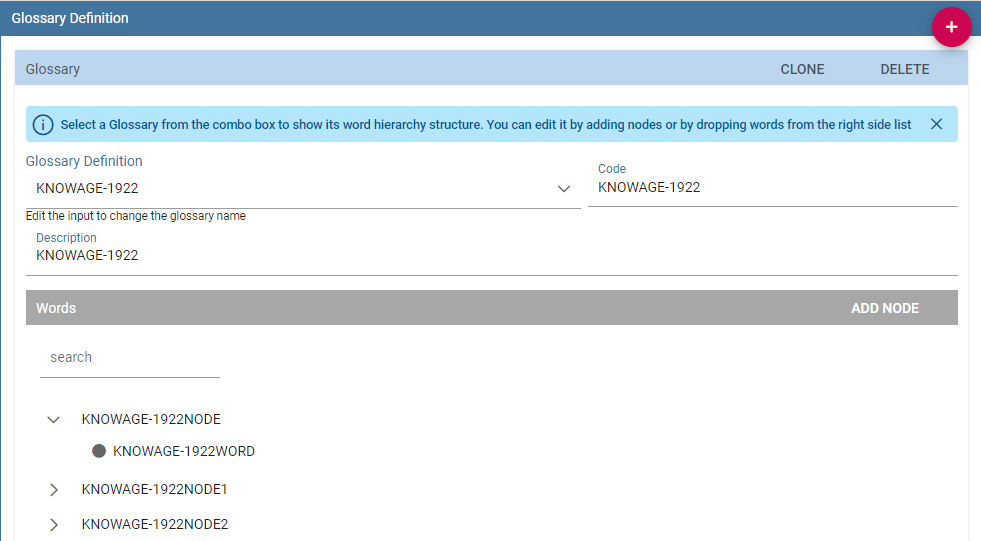
Exploring a glossary from the menu.
To add a new glossary click on the Plus icon next to the Glossary Definition text item.

New glossary wizard.
After assigning a name to the Glossary Definition field, the Glossary is automatically saved.
Click on ADD NODE, fill in the node name and save. The image below shows the ADD Node functionality and also how to add words to a node once created.
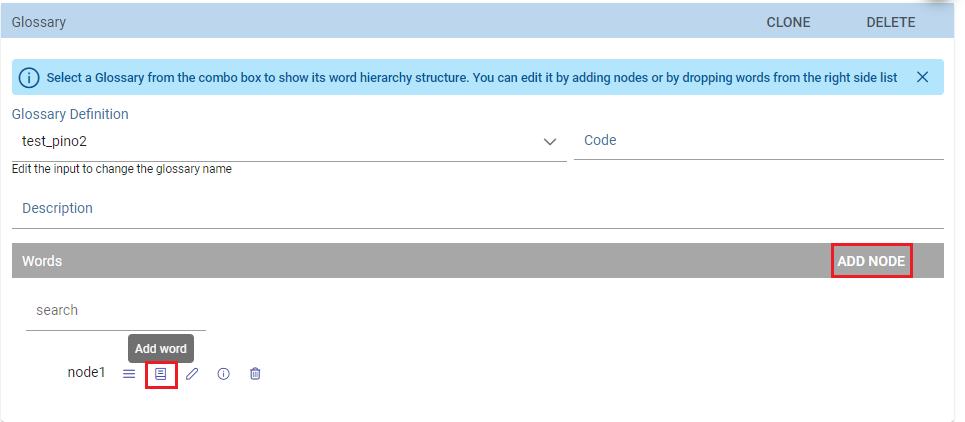
Add items to the node(s) and words to nodes.
Glossary Usage
This functionality works accordingly to the user role and includes features that allow to create/visualize the associations of the words of a glossary to:
documents,
datasets,
business classes and
tables (columns).
The details of all the defined glossaries can be displayed just selecting Glossary Usage from CATALOGS of the Knowage main menu.
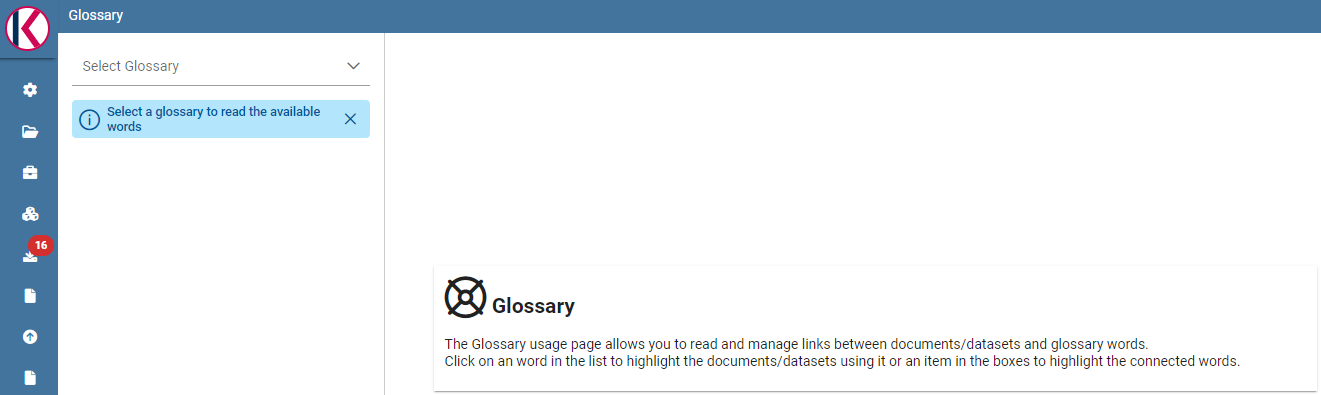
Glossary Usage graphic interface.
Select a glossary from the combobox available and search for a word inside the glossary. The page refreshes showing the links of that word with the components metioned above.
In case of no links with i.e. a Table, a message prompts informing that there are no links to the word.
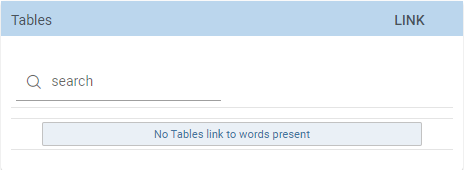
No table links to words.
To associate the glossary to a specific component, just click on the LINK functionality next to each element. See figure below as example.
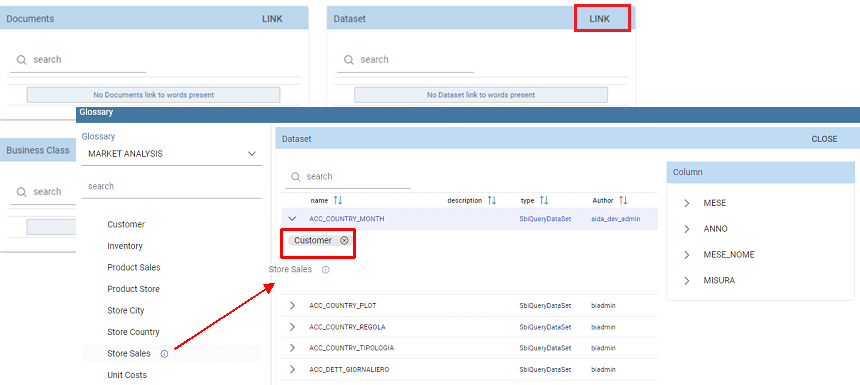
Linking a word to a dataset .
After clickin on LINK, a wizard opens. Here you can select the glossary and to associate the word it is enough to drag and drop it in the editor area of the chosen dataset. After closing the wizard, clicking on the i icon you can see the list of words associated. See image below:
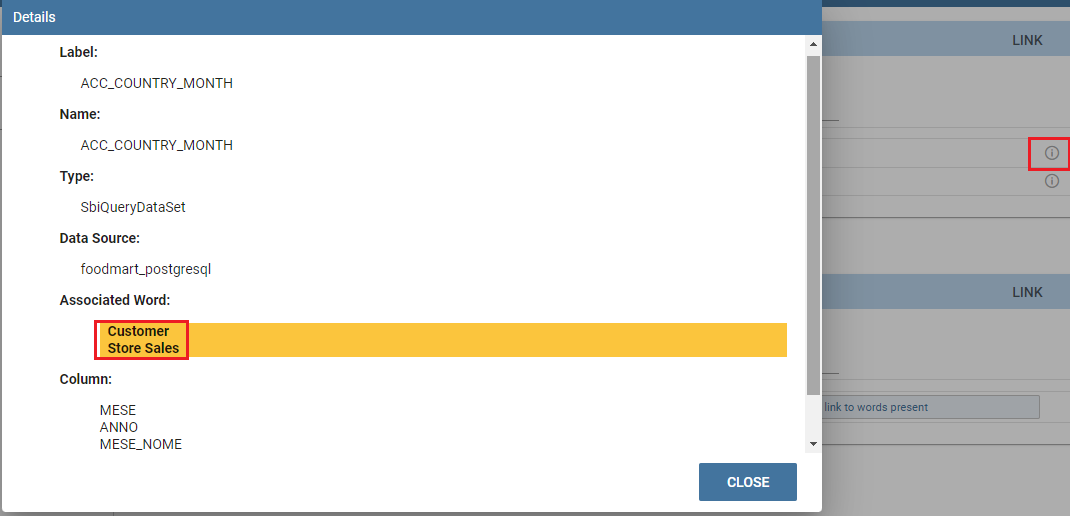
Linking a word to a dataset .
Help Online functionality
The user can view the association of a specific analytical element (dataset, document or model) by using the Help Online functionality from:
the Document Browser,
the toolbar of each document, once launched,
every dataset,
every entity of the Qbe model,
Birt reports,
the cockpit.
As an example, the figure below shows the graphic interface that the user will see once launched a document and used the Help Online functionality.
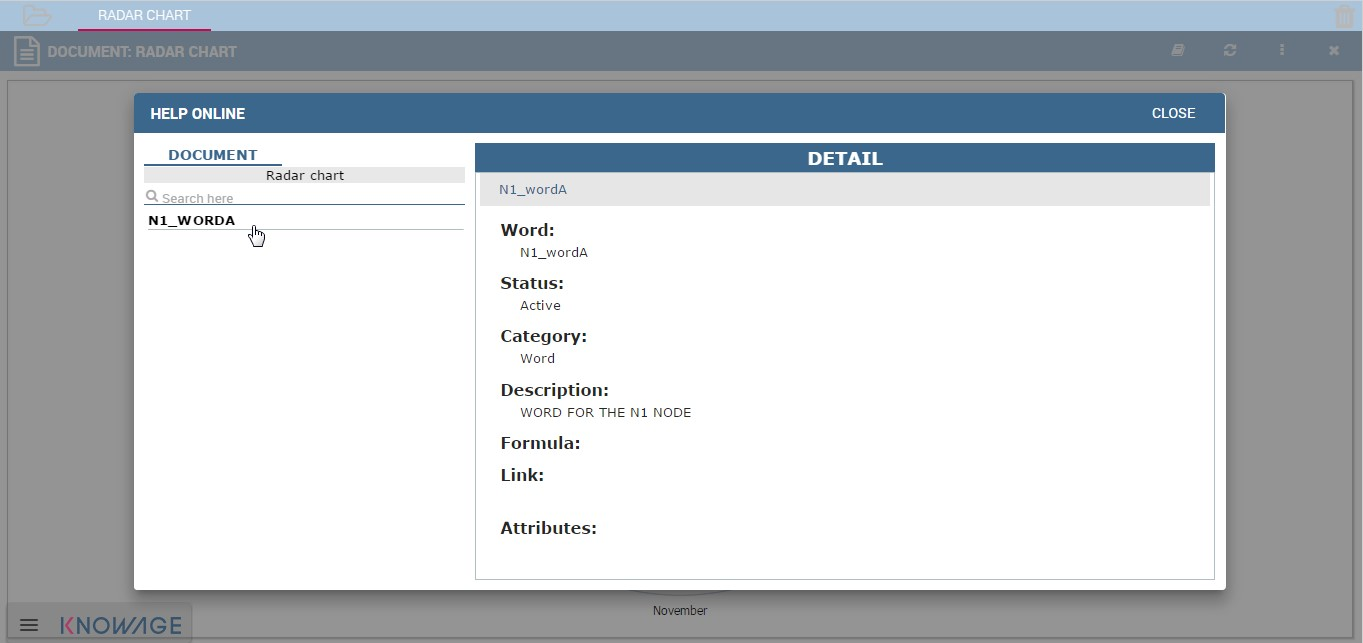
Help Online wizard.